The Push API can be configured within CX Builder by any user with Client Admin or Client User with Integration permissions in the system. This feature is available in both the Staging and Production environments.
Adding a New Integration
Step # | Description | CX Builder |
|---|---|---|
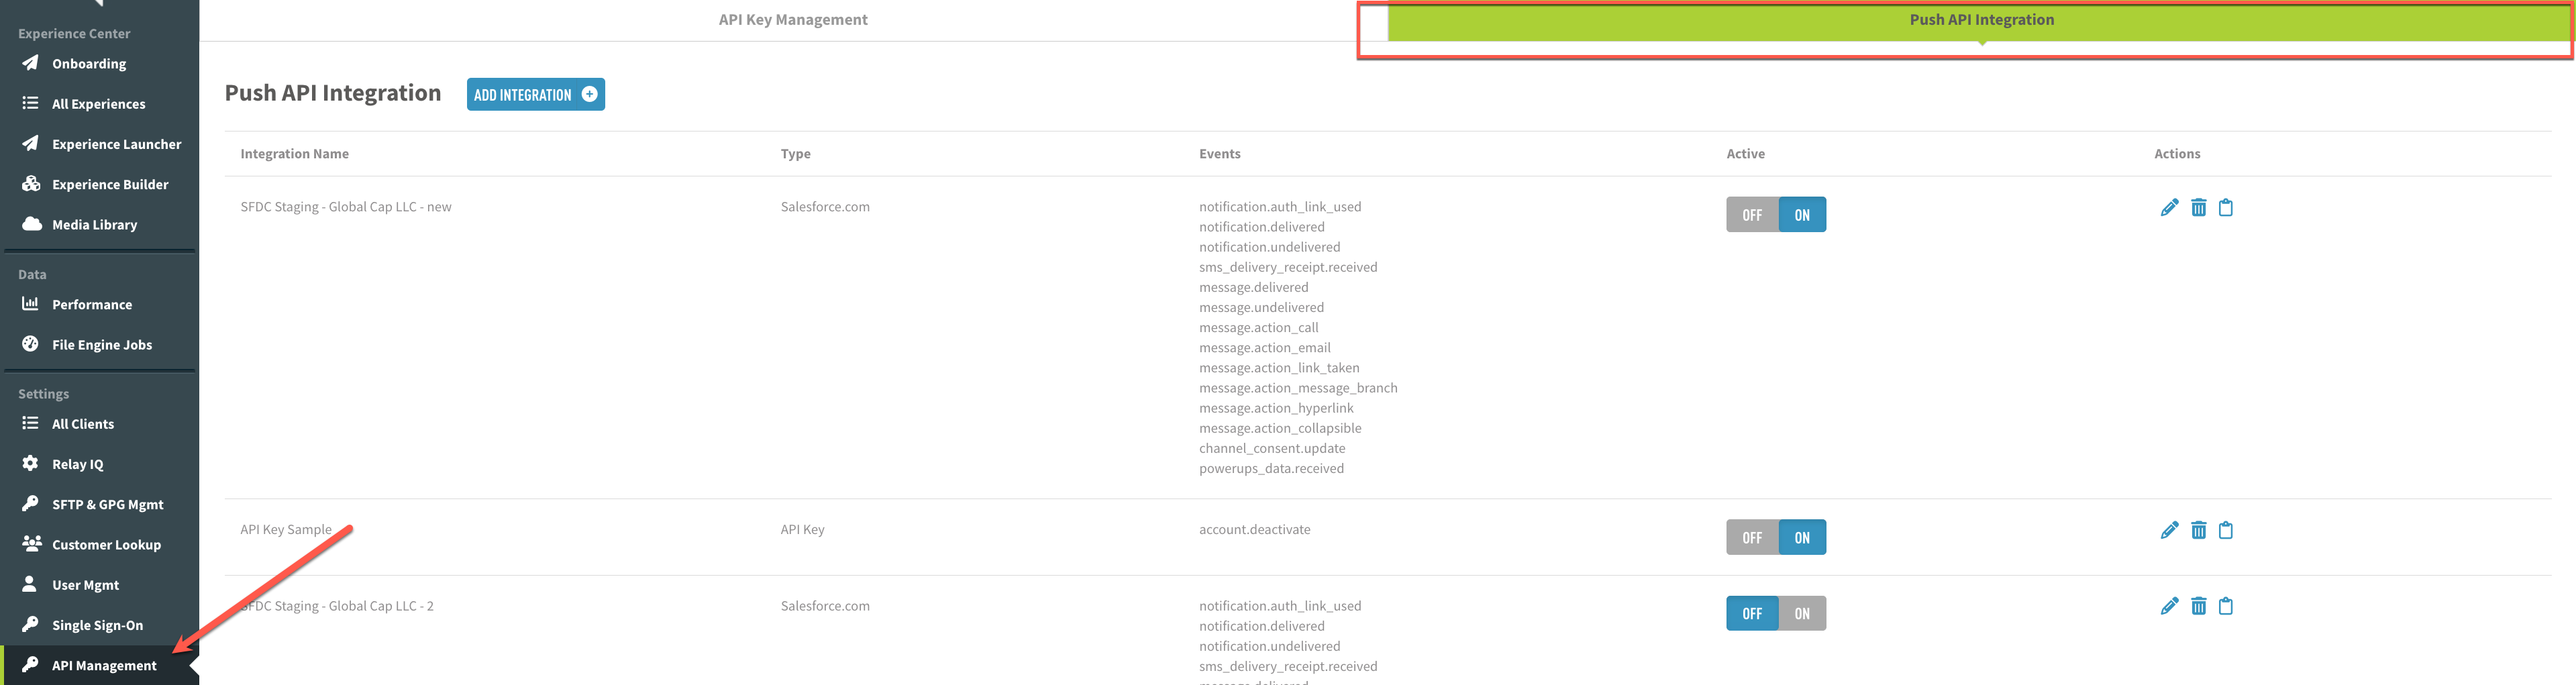
1 | Once you are signed in, click on API Management in the left menu column. Click on the Push API Integration tab. This is the “home page” of the Push API Integration UI, where you will see a list of existing integrations for the selected client (if any exist). Note: If you do not see the API Management module on the left menu, please check that you have either Client Admin or Client User with Integration Permissions in the system. |
|
2 | To add an integration, click the “ADD INTEGRATION” button. A modal will pop up with a dropdown, where you can select the authentication type of the integration. |
|
3 | The types of supported authentication methods are as follows. Follow the links below to find instructions on how to configure each of the authentication methods. Basic Authentication: Username/Password Custom: API Key or No Authentication Please note that the Salesforce Packages are covered under those specific sections of the documentation site. |
.png)
Basic Authentication
Step # | Description | CX Builder |
|---|---|---|
1 | Settings
|
|
2 | Headers (Optional)This step is optional, and can be skipped if no custom headers were provided. If custom headers were provided, you may enter up to ten key-value pairs. If any of the values are sensitive, you may select the checkbox beneath the value. After saving, this value will be encrypted, however, upon subsequently viewing in the UI, you will be able to see the last four characters of the decrypted value. Sensitive headers cannot be edited or made non-sensitive after saving--if you wish to update them, you must delete the pair and create a new pair. |
|
3 | Events
|
|


Custom Authentication
Step # | Description | CX Builder |
|---|---|---|
1 | SettingsName: This is the name of the integration you are creating, and can be named whatever you wish to refer to it as. URI/Endpoint: Uniform Resource Indicator. Similar to and should resemble a URL. This is the address at which this integration will be authenticated. (HTTP) Method: POST, PUT, GET. Most often the value should be POST. |
|
2 | HeadersThis is where “Header Name” (also referred to as “API Key Header”) and “Header Value” (also referred to as “API Key”) should be entered. You may also enter up to ten key-value pairs. If any of the values are sensitive, you may select the checkbox beneath the value. After saving, this value will be encrypted, however, upon subsequently viewing in the UI, you will be able to see the last four characters of the decrypted value. Sensitive headers cannot be edited or made non-sensitive after saving--if you wish to update them, you must delete the pair and create a new pair. |
|
3 | Events
|
|


OAuth
Step # | Description | CX Builder |
|---|---|---|
1 | SettingsName: This is the name of the integration you are creating, and can be named whatever you wish to refer to it as. URI/Endpoint: Uniform Resource Indicator. Similar to and should resemble a URL. This is the address at which this integration will be authenticated. Grant Type: Currently, the only option for this field is client_credentials, so please select this value. If you require a Push API setup with a Grant Type that is not client_credentials, please contact your Relay Account team to discuss options. Client ID: This is the client ID provided by the Relay client. It possible that it is different than the Relay client ID. Client Secret: This can be thought of as a password, provided by the client, associated with the client-provided client ID above. Authentication URL: This is the address at which this integration will be authenticated. Many times it will look something like “https://companydomain.com/words/token” where the word “token” is in the endpoint. Token (Optional): Optional, but required if provided by the client. If provided, this is a long value composed of different types of characters and can be thought of as a password for authentication. If the client did not provide a token value, it is likely that this field is not required, and should therefore be left blank. Scope (Optional): Optional, but required if provided by the client. The format of this can vary. Here are some examples of what the value for this field may look like:
Resource (Optional): Optional, but required if provided by the client. The resource server handles authenticated requests after the application has obtained an access token. If the client did not provide a resource value, it is likely that this field is not required, and should therefore be left blank. HTTP Method: POST, PUT, GET. Most of the time it will be POST. |
|
2 | HeadersThis is where “Header Name” (also referred to as “API Key Header”) and “Header Value” (also referred to as “API Key”) should be entered. You may also enter up to ten key-value pairs. If any of the values are sensitive, you may select the checkbox beneath the value. After saving, this value will be encrypted, however, upon subsequently viewing in the UI, you will be able to see the last four characters of the decrypted value. Sensitive headers cannot be edited or made non-sensitive after saving--if you wish to update them, you must delete the pair and create a new pair. |
|
3 | Events
|
|


